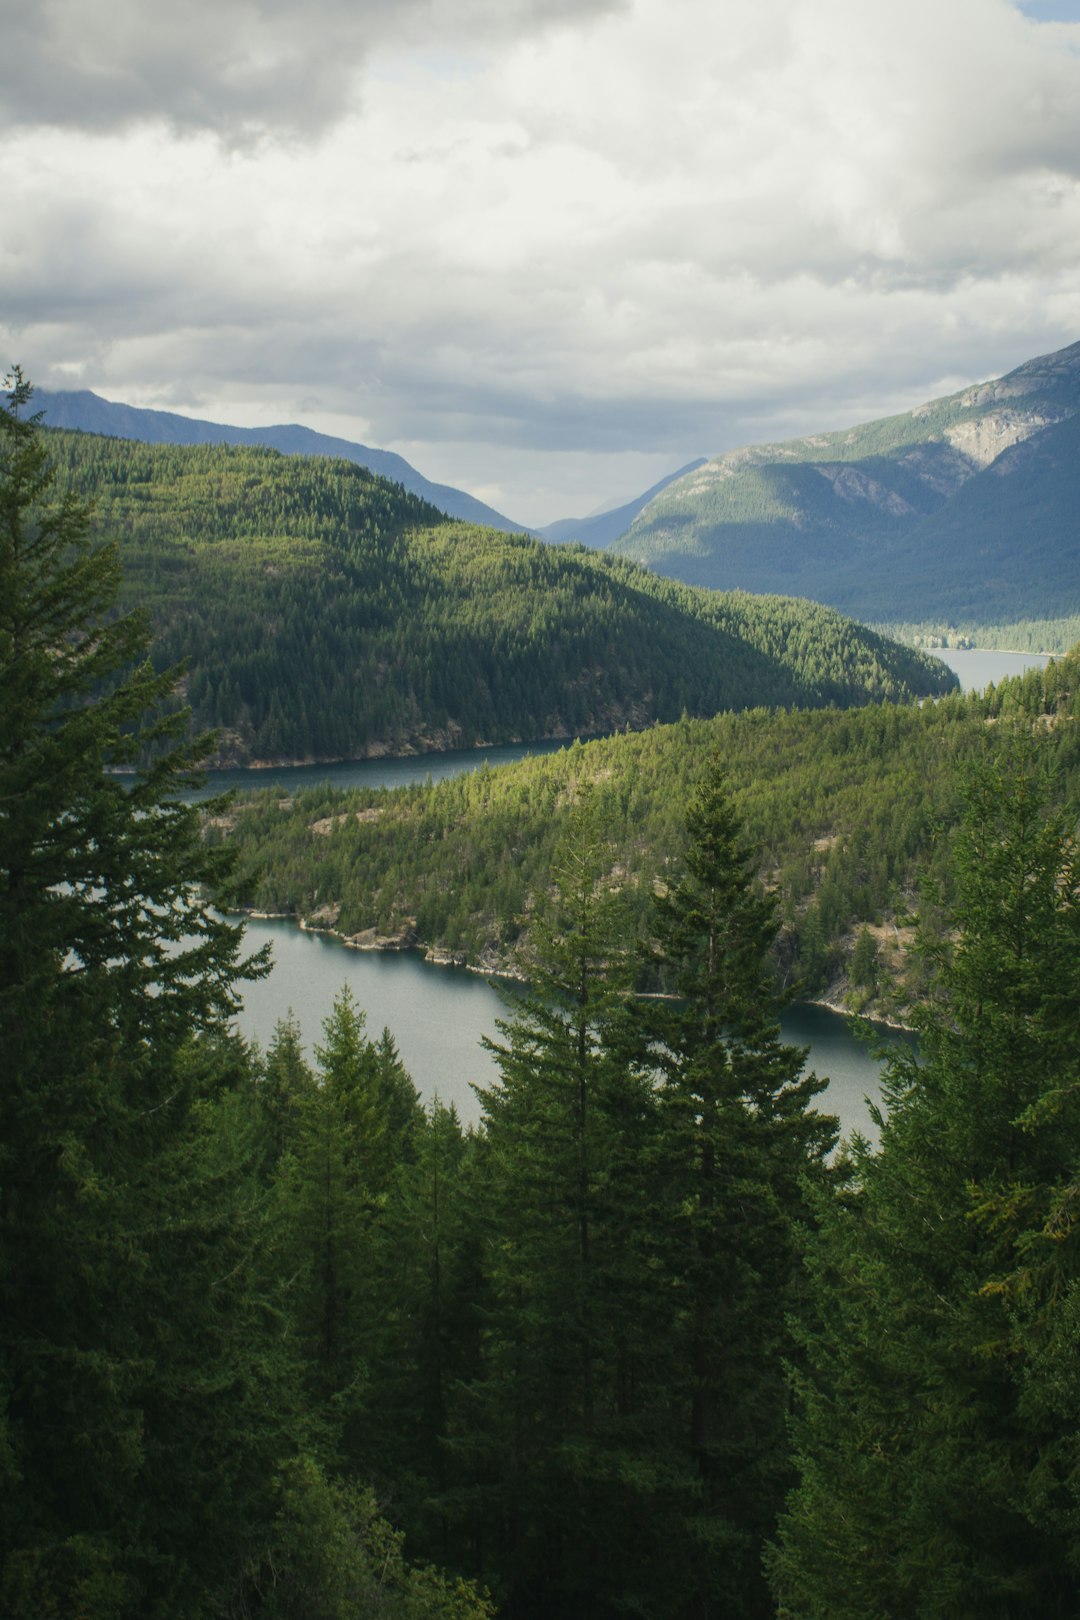
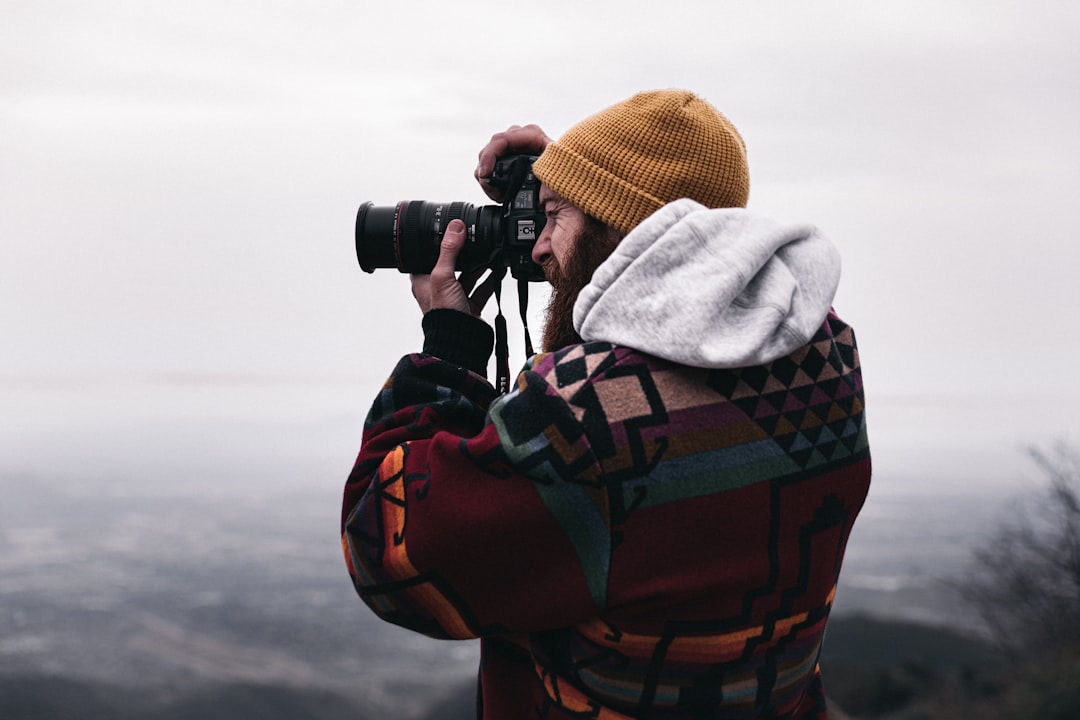
Natural light is arguably the most beautiful, versatile, and accessible light source available to photographers. Unlike artificial lighting, which requires equipment and technical knowledge, natural light is free and constantly changing, offering endless creative possibilities. However, working with natural light requires understanding its qualities and learning how to adapt to its ever-changing nature.
Understanding Natural Light
Before diving into techniques, it's essential to understand the basic characteristics of natural light:
Direction: Where is the light coming from? Front lighting, side lighting, backlighting, and top lighting all create different effects.
Quality: Is the light hard (creating sharp, defined shadows) or soft (creating gentle, diffused shadows)? Direct sunlight on a clear day is hard, while overcast conditions create soft light.
Color temperature: Natural light changes color throughout the day, from the warm golden tones of sunrise and sunset to the cooler blue tones of midday.
Intensity: How strong is the light? This affects exposure settings and the overall mood of your images.

Golden Hour: Nature's Perfect Light
The "golden hour"—roughly the first hour after sunrise and the last hour before sunset—is prized by photographers for good reason. During these times, the sun is low in the sky, creating:
- Warm, golden light that flatters subjects
- Soft, directional light that creates dimension without harsh shadows
- Long shadows that add depth and texture
- Lower contrast that preserves detail in highlights and shadows
To make the most of golden hour:
Plan ahead: Check sunset/sunrise times and arrive early to set up.
Work quickly: Golden hour light changes rapidly, so have a clear plan.
Experiment with backlighting: Position your subject with the sun behind them for beautiful rim lighting and dreamy, glowing effects.
Overcast Days: Nature's Softbox
Many photographers lament cloudy days, but overcast conditions actually create a giant natural softbox, providing even, diffused light that's ideal for many subjects.
Benefits of overcast light include:
- Minimal harsh shadows on faces
- Even illumination that reduces contrast
- Easier exposure without blown-out highlights
- Saturated colors (especially effective for foliage and flowers)

Tips for overcast conditions:
Increase contrast in post-processing: Overcast light can sometimes appear flat, so add a bit of contrast to create depth.
Use a polarizing filter: This can reduce glare and enhance color saturation, especially useful on wet days.
Consider black and white: The even light of overcast days often lends itself beautifully to monochrome conversion.
Taming Harsh Midday Sun
The midday sun (roughly 10 AM to 2 PM) creates the most challenging lighting conditions for photographers: harsh, direct light from above that casts unflattering shadows and creates extreme contrast. However, with the right techniques, you can still create beautiful images:
Find shade: Position your subject in the shade of a tree or building to benefit from softer, diffused light.
Create shade: Use a diffuser (even a translucent white bedsheet can work) to soften harsh sunlight.
Use reflectors: Bounce light back into shadows to reduce contrast and fill in facial shadows.
Change your perspective: Sometimes simply repositioning yourself or your subject in relation to the sun can dramatically improve the light.
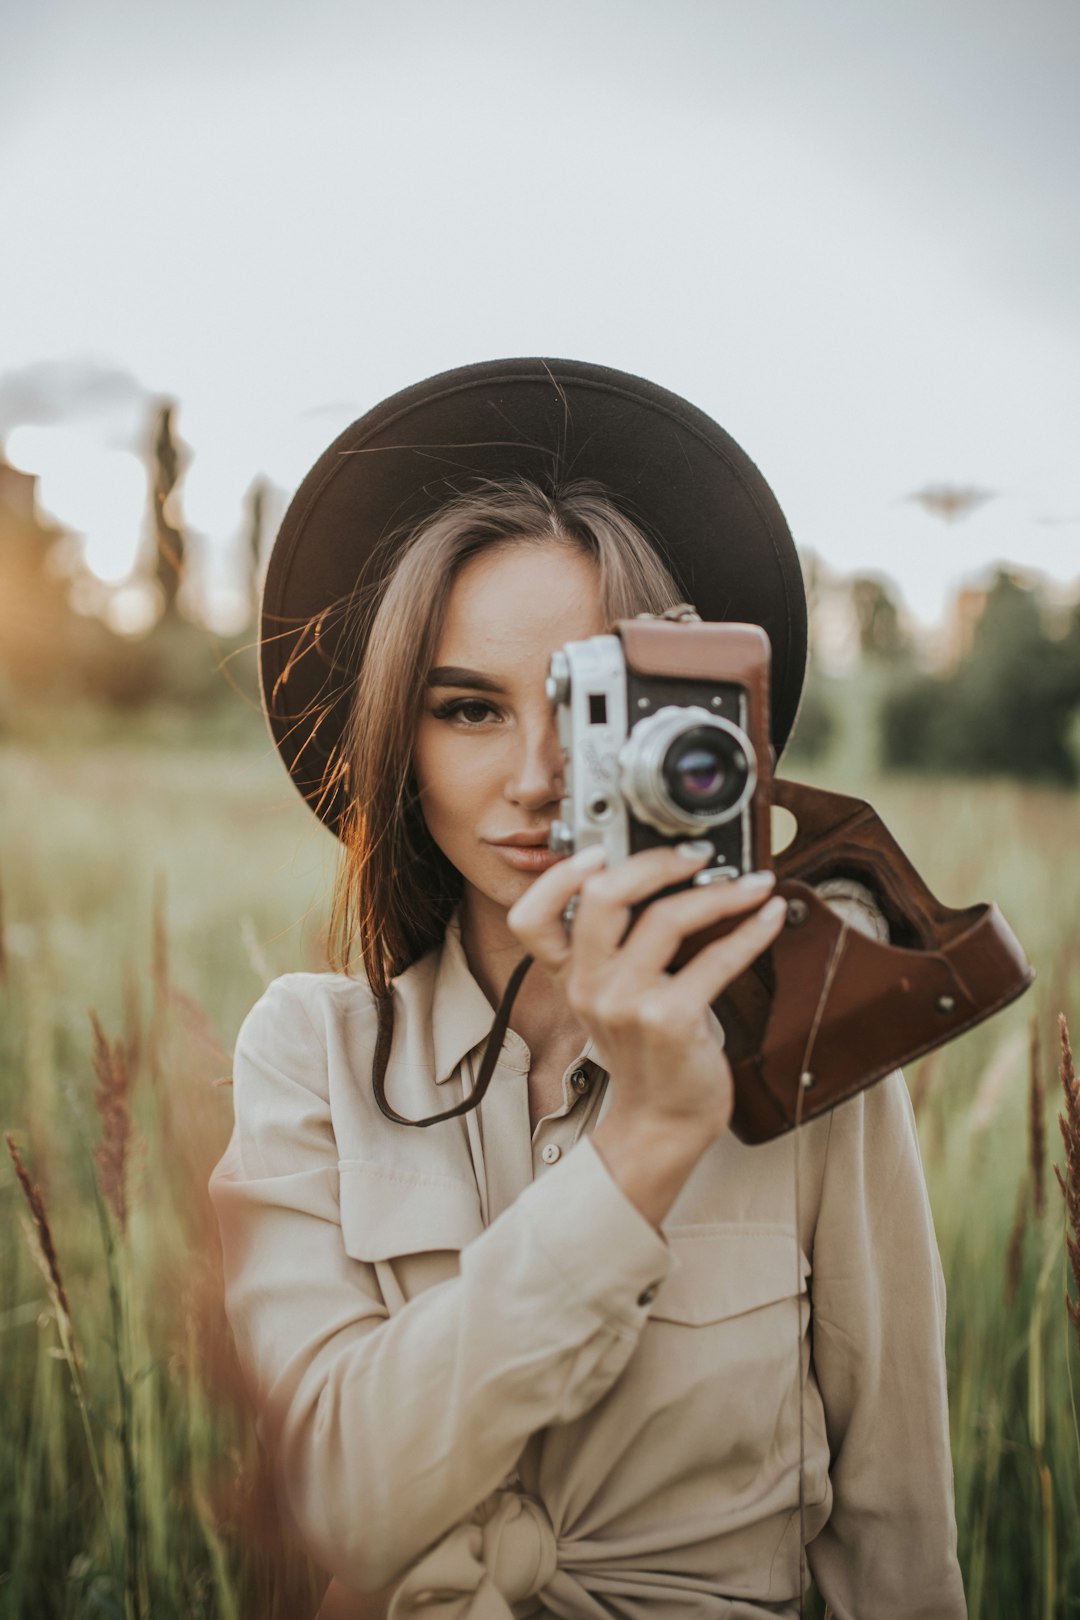
Creative Backlighting
Backlighting—positioning your subject with the light source behind them—creates some of the most dramatic and ethereal images. This technique works particularly well during golden hour but can be used throughout the day with the right approach.
Tips for successful backlighting:
Expose for your subject: Your camera may try to expose for the bright background, leaving your subject underexposed. Use spot metering on your subject or exposure compensation to correct this.
Create silhouettes: Alternatively, expose for the background to create striking silhouettes of your subject.
Use a lens hood: This helps prevent lens flare when shooting toward the light source.
Add fill light: Use a reflector or flash to add light to your subject's shadowed side if you want to preserve detail.
Window Light: Natural Light Indoors
Window light is one of the most beautiful and controllable forms of natural light, perfect for portraits, still life, and detail shots. It creates directional, often soft light that's flattering for subjects.
To maximize window light:
Position your subject at an angle to the window: This creates dimension with light gradually transitioning to shadow across the subject.
Distance matters: The closer your subject is to the window, the more dramatic the light; moving further away creates softer, more even illumination.
Control with curtains: Sheer curtains can diffuse harsh sunlight, while partially closed blinds can create interesting light patterns.
Reflect and fill: Use white foam board or reflectors opposite the window to bounce light back into shadows.
Reading the Light
Perhaps the most valuable skill in natural light photography is learning to "read" the light—to observe and understand how light is interacting with your environment and subjects. This comes with practice and conscious observation.
Develop this skill by:
Watching shadows: The direction and quality of shadows tell you everything about the light source.
Observing reflections: Look for natural reflections in eyes, water, or other surfaces to understand the light's direction and quality.
Being aware of time: Track how light changes throughout the day in your favorite locations.
Taking test shots: Use your camera's LCD to evaluate how the light is rendering and make adjustments.
Conclusion
Mastering natural light doesn't mean controlling it—it means understanding its qualities and adapting to work with what nature provides. With practice, you'll develop an instinct for recognizing beautiful light and positioning your subjects to make the most of it.
Remember that "bad" light rarely exists—only challenging light that requires creative solutions. Some of the most striking images come from working with unusual or difficult lighting conditions. The key is to observe, adapt, and let the unique qualities of natural light enhance your photographic vision.